We most often ignore the cleanliness of the tiles and grout of our rooms for no substantial reasons. Maybe it is a just simple sloth. We are here to give you quick tips for regrouting tiles. We mostly have tiles in our bathroom and all the water squirting necessities regrouting tile more. Since you emerge out all clean, afresh and grime-free from the bathroom makes it more, why wouldn’t you want your bathrooms to be clean themselves. And, what is more, off-putting than dirty, spotted and shineless tiles and grout. Here we give out quick and easy steps for tile regrouting because we’d only wish beautiful bathrooms for you.
Keep The Tile Color In Mind
Choose your grout color in accordance with the color of your tile. If you think not complementing tile and grout color you are mistaken for it is very much observable and itchy to the view if the colors don’t gel well with each other.
Also, see that the color of your new grout and the color of your old grout matches.
Remove The Old Grout
Irresponsible removal of grout can lead to the breaking of tiles. Cut and scoop the old grout with a utility knife or a grout saw. The older the grout the harder will it be to remove so you will have to use a little grease. Use caution when removing the old grout so as not to damage the tiles. It is better to consult and know from Tile Regrouting and Cleaning Service providers on how to do the same or the tools to use, considering the manual dexterity this task needs.
Dry Clean The Tiles
After you have completely removed tile grout, use a vacuum cleaner to clean off dirt or pieces of loose debris. Clean the tiles with a household cleaner or mixture of water and cleaning detergent.
Mix The Grout
Always read the manufacturer’s manual first. If you are not using pre-mixed grout, mix the grout you have purchased. We recommend modified latex type of grout.
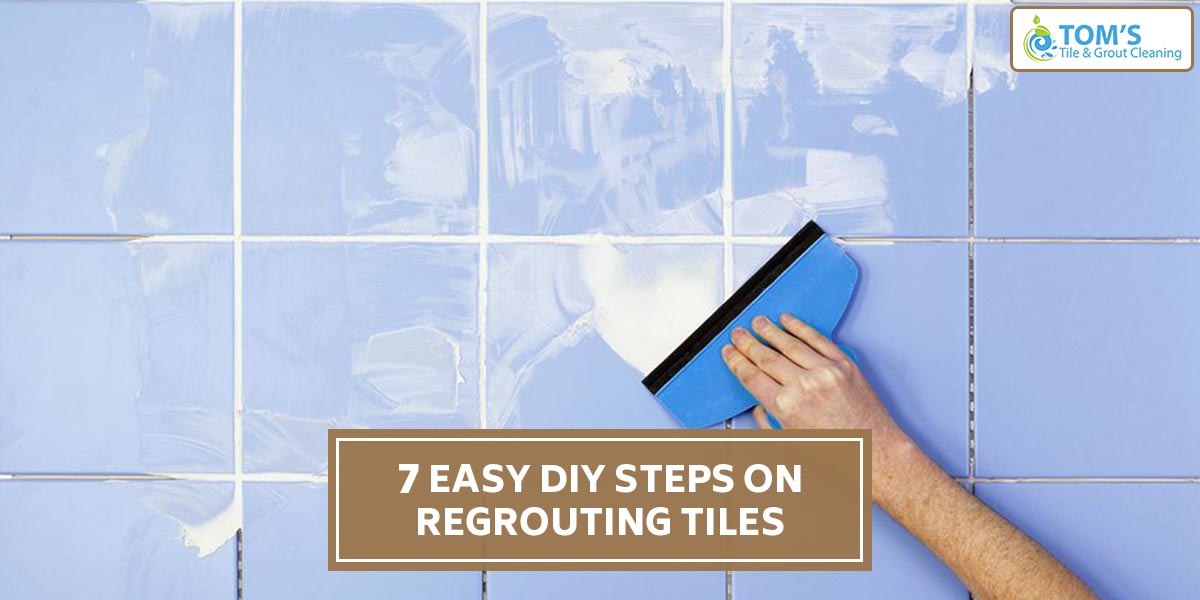
Apply The Mix
With a float place the grout on the tile and spread it diagonally over the surface. Push the grout between the tiles. Distribute the extra grout into the grout joints in order to completely fill them.
After removing the excess grout, you must let it sit for 10 minutes more or less or see the time in the manufacturer’s package. After that use a damp sponge to remove the excess grout in a diagonal motion. Now simply wipe over the grouted surface do it till the area streaks.
Let It Dry
Let the grout to be cured for 12 to 24 hours before checking the joints to ensure if it has completely dried.
Brush Off Grout Remnants
After knowing that the grout has dried you rub off any excess grout with a clean dry rag. Don’t use a rag that could stain the fresh grout with its dye.
Now you have your floors and bathrooms looking as good as new! We at Toms provide the best Tile regrouting services in Melbourne call us at 1300 068 194 to avail them.