After renovating your tiles, you notice some residues of Grout Haze, then it is time to remove it quickly within a day. Grout haze develops when the remains of the grout dry out after installation of the grout on the tiles. One will observe glossy patches or dull smears of white dusty residues on the tiles after the grout completely dries. You don’t want that, now do you? There are three ways to remove grout haze from the flooring such as ready-mixed, grout-cement as well as epoxy-resulting. You can use scrubbing tools to remove clingy grout haze from the tiles. There are also many household techniques available to clean your flooring. It can be removed by a damp towel, but if it has been more than a day then you will have to take the necessary steps to clean it before it becomes permanent.
There are plenty of Grout Haze Remover products available in the market which gives you assurance to clean your tiles in a day. There are specific things you should keep in your mind before cleaning. Contact the grout manufacturer if you can’t decide which cleaner to use for your tile. Do not wait for more than 10 days to remove grout haze which might make it harsher and difficult to remove. Sometimes, patches can be so stubborn which needs special products to remove it. Professionals suggest using the Grout Haze Remover based on what kind of tiles and grout you have used. Let’s learn about the seven easy steps to clean the grout and tile which are listed below:
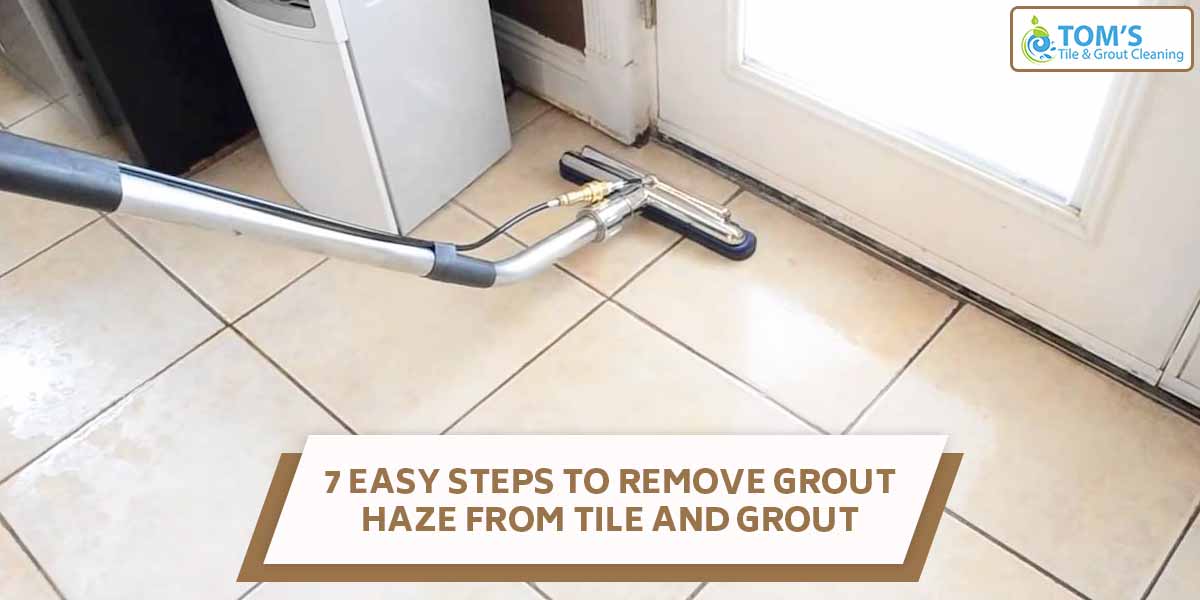
7 Easy Steps To Remove Grout Haze From Tile And Grout
1. Remove the Grout:
Remove the grout within 24 hours or after finishing the project without damaging or softening the Grout Haze between the tiles. If this happens, then you can use a knife to flatten the grout and close up the grout to prevent further damage.
2. Use Cheesecloth to Remove Excess Grout
If you don’t want to damage your tiles then you can use a cheesecloth to remove excess grout from the tiles.
3. Try Terry Towel
Try new method if it is not effective then you can use a wet terry towel. Do not forget to wear gloves if you are using any liquid remover which can be unfriendly for your skin.
4. Wring Towel
Make sure to wring out as much liquid as you can out of the terry towel before cleaning the floor.
5. Rub Terry Towel
Rub the wet terry cloth on the flooring to remove the settled grout haze.
6. Rinse the Floor with Fresh Water
In the end, rinse the floor thoroughly with water to ensure the remaining particles of the grout is removed. Mop the floor with a damp terry cloth to remove the cleaning solution from the tiles. You do not want the excess water to ruin your polished tiles and the grout between the tiles.
7. Try Strong Tile Cleaner
Sometimes, it gets very difficult to remove epoxy grout haze with mild cleaners. One can find strong tile cleaners and sponge online or in any local hardware store. You can spray the cleaner off the floor and scrub each tile until the haze is removed. Always use a soft sponge and avoid using green tile sponge which can transfer the color the grout.
We hope that this method gives you a haze-free tile and grout. If you want to get your bathroom professionally treated call Toms Tile and Grout Cleaning Melbourne professionals on 1300 068 194 to get same-day, on-site services.
Contact us for Tile and Grout Cleaning in Melbourne. Also, contact us for Upholstery Cleaning Melbourne and Carpet Cleaning Melbourne.